Inverter repair - a cheap alternative to a new device
In the event of damage, the same question often arises: "Does an inverter repair make sense or is the inverter defective?" Unfortunately, there is no clear answer to this question. Rather, various points must be considered in the solution.
Age of the defective inverter
The basic service life of an inverter is between 7 and 10 years. Newer device types are also specified with a service life of up to 15 years.
If the inverter has not yet reached the age and expected service life, an inverter repair seems sensible. Especially against the background that all the components in the device do not yet have a very high mileage.
However, if the inverter is 7 to 10 years old, the cost of the repair must be weighed against the cost and benefit of a new device. In addition to a longer life expectancy, new devices are often the better choice in terms of cost-effectiveness.
Type of defective inverter

In addition to the different manufacturers, there are also a large number of inverter types. In total there are more than 2,000 different devices on the market. This number comes about because, similar to the solar modules, there is also rapid further development for inverters. However, this further development has the disadvantage that manufacturers are often no longer able to supply older device types. This delivery bottleneck is often the reason why an inverter repair makes sense.
Manufacturers often also offer replacement devices or repair inverters. These are often used products where manufacturers like SMA repair inverters themselves and put them back on the market.
Common causes of a faulty inverter
Damage to the inverter can be attributed to both internal and external causes. The most well-known errors include:
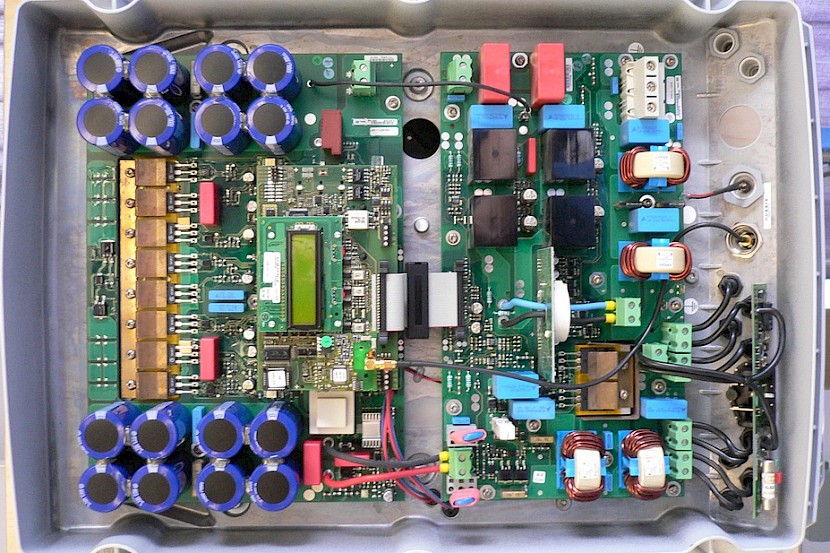
- Wear of the electrolytic capacitors
- Environmental damage from dust, heat and humidity
- surge damage
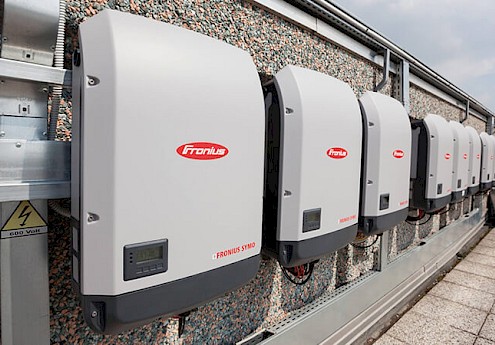
Operators can often see what kind of inverter is defective by looking at the inverter's display. The damage can be verified in the manual using the error code displayed. The error code also often provides information as to whether an inverter repair makes sense or not.
Carrying out an inverter repair
Inverter repairs can be a cheap and effective alternative to buying a new one. However, a successful repair should be carefully planned and executed.
Step 1 – Incoming inspection of defective inverters
Extensive functional tests are carried out on the defective inverters during the incoming inspection. This is absolutely necessary in order to find out the exact cause of the inverter defect. The check is also necessary to check a possible inverter repair.
Step 2 – Cleaning the broken inverter
A broken inverter is often very dirty after many years of use. In order to ensure good heat dissipation after successful repair, the inverter must be cleaned inside and out before the repair.
Step 3 – Provision of suitable spare parts
If the defective component was located during the incoming inspection, it will be replaced with a new component. In addition to the defective component, other components are often replaced as well. Usually components that already show a high level of wear. This ensures that an inverter repair is also successful in the long term.
Step 4 – Success check after inverter repair
In order to ensure the success of an inverter repair, a success check should always be carried out. To check the success, inverters are subjected to a high-performance test under full load. In this way, all new and used components can be checked again.
An inverter repair is possible for almost all devices
In principle, all manufacturers and types can be subjected to an inverter repair. This repair can be carried out directly by the manufacturer or in a workshop specializing in inverter repairs. Basically, a repair of used devices for the following manufacturers is possible:
|
|
|


